Although Bitcoin is volatile and unpredictable, it has managed to increase steadily in recent years, much to the satisfaction of those owning the coins. To say it simply, Bitcoin becomes a viable payment method, and that is why more and more people are looking into the possibility to accept Bitcoin on WordPress.
For instance, you could sell an item or ask for a donation of Bitcoin, only to cash it out immediately or see the value of that payment increase over time.
The main reason to accept Bitcoin on WordPress, though, is because of the flexibility of your coins.
As many of us know, WordPress lets users build eCommerce sites with a plugin like WooCommerce. WooCommerce connects to many payment gateways like Stripe, PayPal, and Payoneer.
The only problem is that some customers in other countries aren’t able to use those payment gateways, whereas Bitcoin is available to anyone.
What are some other reasons to accept Bitcoin on WordPress?
Along with the ability to accept payments from more customers, Bitcoin offers some other interesting advantages:
- Bitcoin is digital and decentralized. Therefore, you don’t have to rely on a third-party bank, yet the transactions are secure and somewhat anonymous by using a ledger called a blockchain.
- Bitcoin payments are irreversible, and every transaction comes with an extremely difficult hexadecimal code. So, there are fewer chances of hacking and fraud.
- Most Bitcoin transactions have lower fees than when working with banks.
- If someone makes a Bitcoin payment on your site, all funds are immediately available to you.
- Your customers (and databases) are more secure since no personal or financial information is stored. All coins are linked to people, but there’s not much more information shared.
How to accept Bitcoin on WordPress
After making the decision to accept Bitcoin on WordPress (whether it be for e-commerce sales, client payments, or donations/subscriptions for your blog) you need to get a Bitcoin payment system.
The payment system (we’ll be using BitPay) allows for accepting payments securely through your website. It then converts the Bitcoin and sends a direct deposit to a connected bank account. You can also connect a Bitcoin wallet if you’d rather store the Bitcoin currency and spend it without conversion.
Initial step: Sign up for a BitPay account to accept Bitcoin on WordPress
Go to the BitPay website. Click on the Start Now button.
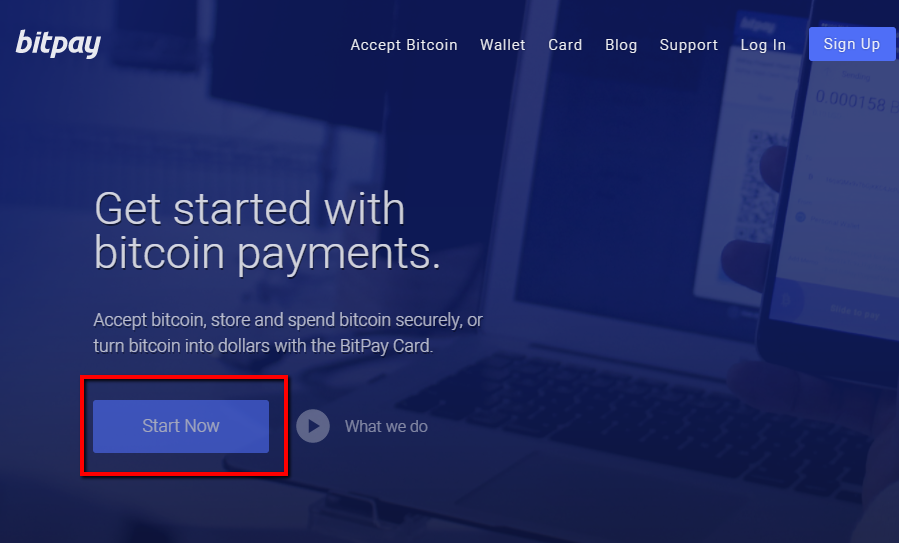
Create a Business Account, since this is how you’re able to acquire Bitcoin payments from your customers. After that, select the Sign Up button.
The BitPay personal information page asks for your organization’s name, along with your first name, last name, email address, and desired password.
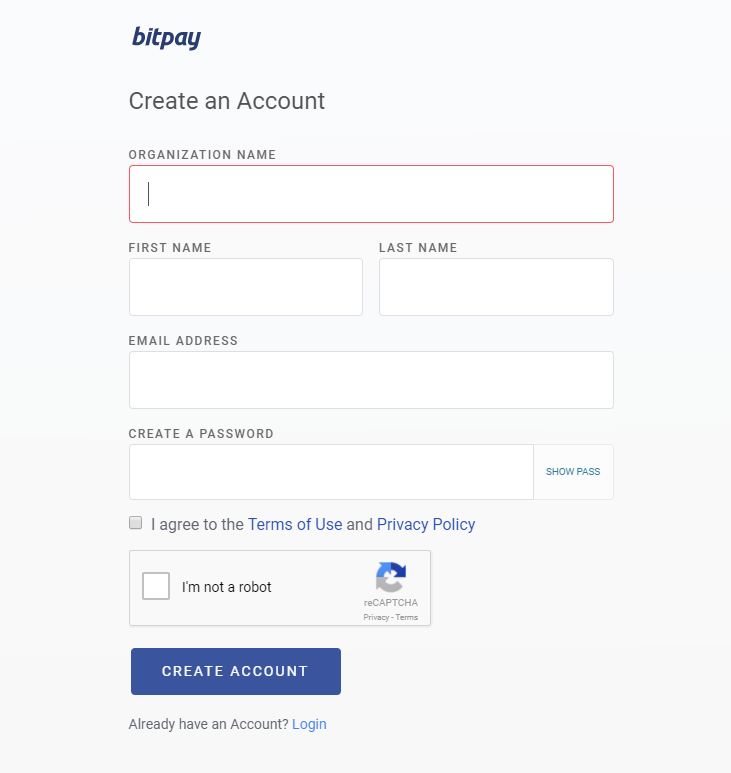
The account has now been created, but you still have three steps to walk through.
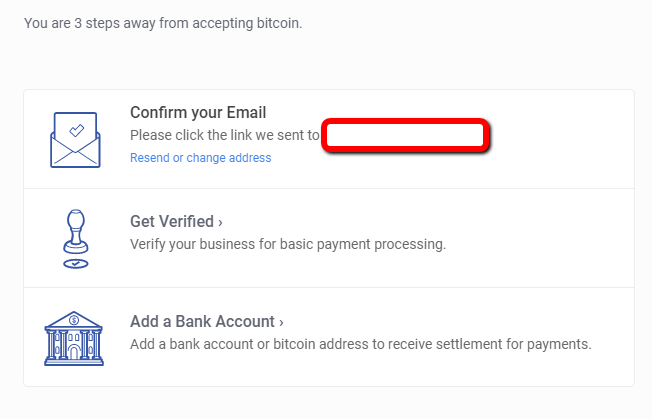
First, you must go confirm your email address. Then, you need to verify your business. Finally, a standard bank account or your BitPay wallet is required to receive your payments.
Accept Bitcoin on a standard WordPress site
Now that you’ve set up BitPay, it’s time to connect it all to your WordPress website. If your current website has no shopping cart or e-commerce plugin, follow this section.
As mentioned before, you might want to ask for donations for your blogging work or maybe you have digital or physical items you’d like to sell a full shopping cart system.
Therefore, you need a Bitcoin payment button to embed on your website. Navigate to BitPay, then find the Payment Tools tab.
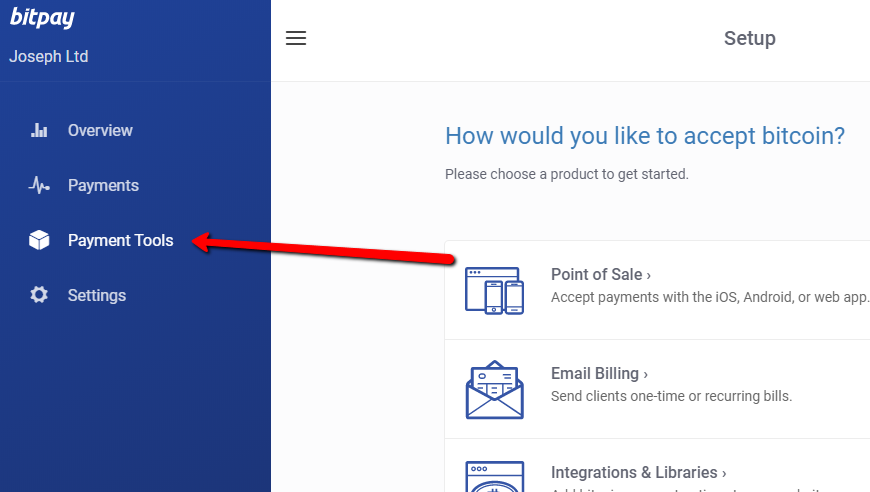
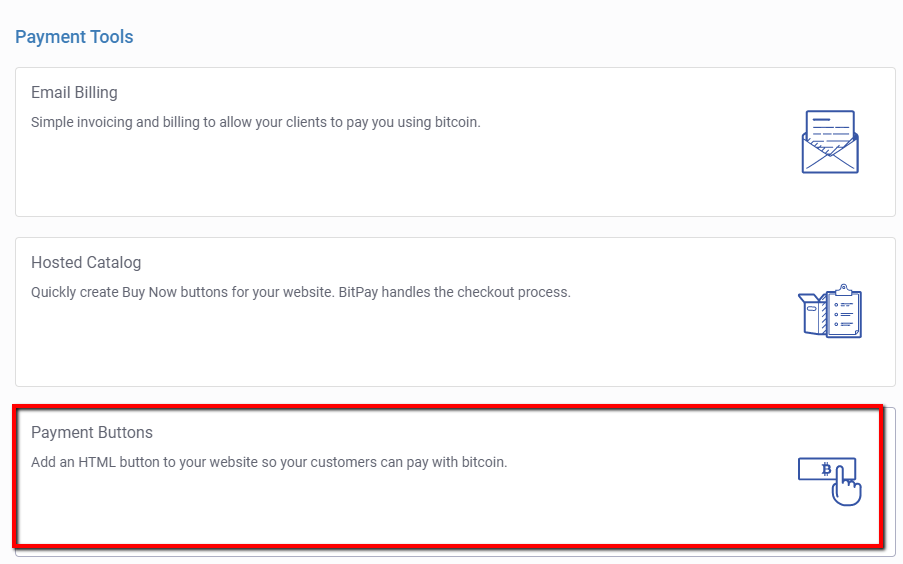
For this tutorial we’re going to select the Payment Buttons option. This allows you to generate a standard HTML button to embed on your website and accept the Bitcoin payments. However, you might also want to look into email billing for clients or making a full catalog of buttons.
The next page helps you create a checkout button. Set a default price and choose that you’d like users to pay in Bitcoin. There’s also a field for describing the checkout option to your customers, along with a button size changer.
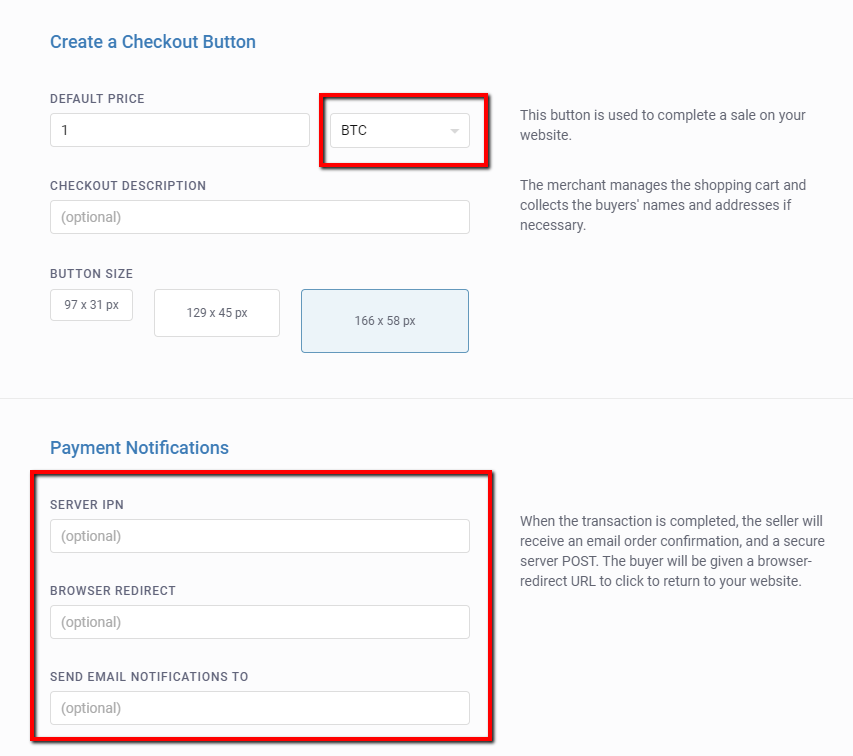
The payment notifications are optional, but you’ll most likely want to create a browser redirect on your website. By default, the buyers get email confirmations, but it’s also prudent to put your own email in the last field so you know when transactions are made.
If you scroll down on the page you’ll see an area that generates the embeddable code. A preview of the button is shown on the right, along with a link to copy the entire block of code. Go ahead and save the code to your clipboard.
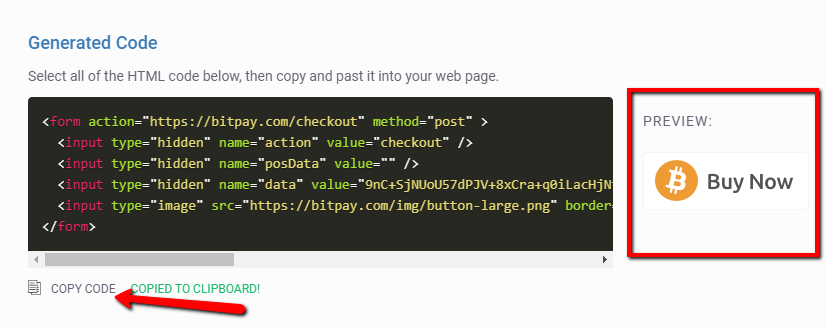
Jump to the backend of your WordPress website and locate the page you’d like to publish the button on. For instance, you might have an eBook to sell or maybe you’re accepting donations for an event.
Paste the copied code into the page’s text editor. This won’t work if you’re in the Visual editor. After pasting the code in, hit the Preview Changes button to view it on the frontend.

The final step: connect a bank account
When a transaction goes through your website, it’s then stored in a company wallet. However, many companies would rather have this currency transferred directly to a standard bank account in the proper currency.
To activate the direct deposit in BitPay, go to Settings > Settlement > Add A Bank Account. Then, fill in your bank account information and hit Save.
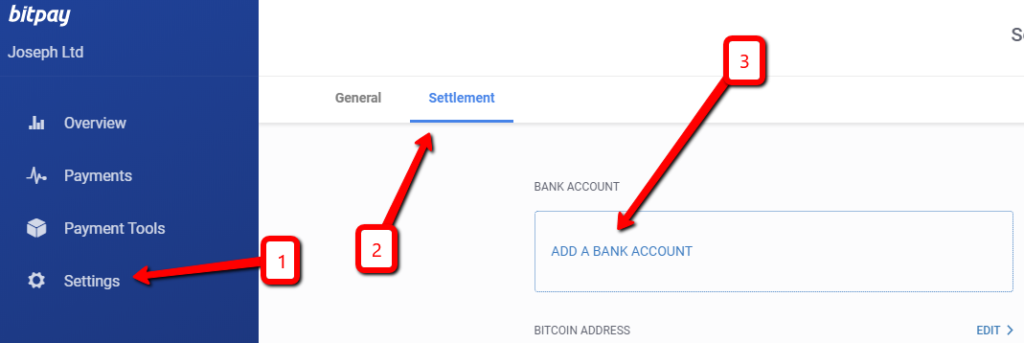
Jump back to the Settlement page and find the Bitcoin Address area. Select the Edit link.
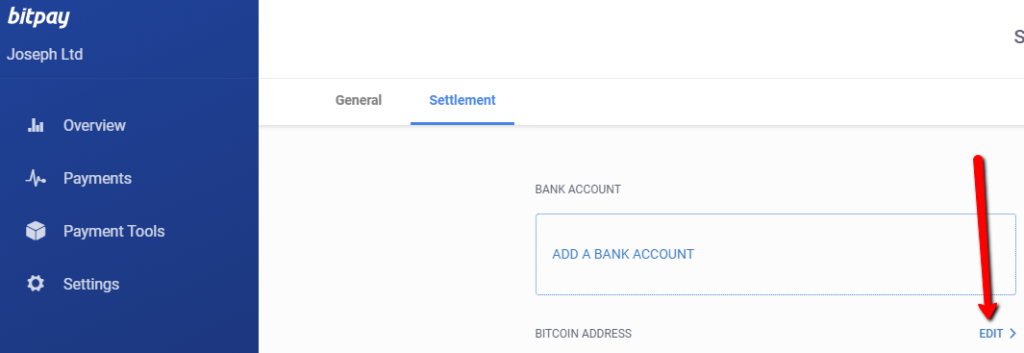
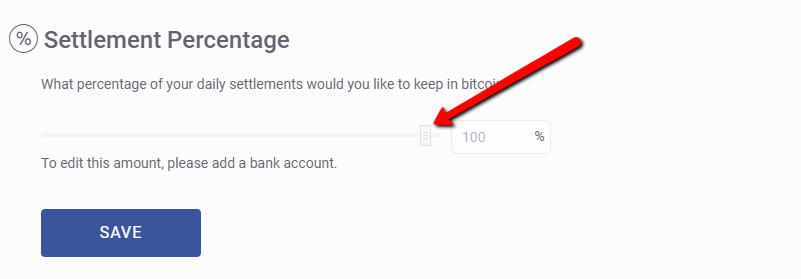
Here you can specify what percentage of your Bitcoin you want to keep as Bitcoin. The rest gets sent to your bank account.
