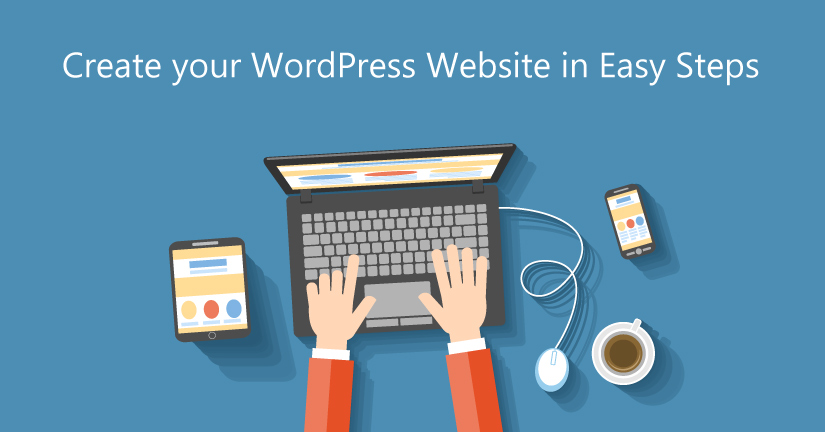
In nowadays you can build a detailed website without knowing a single line of computer code.
In this massive guide, we’re going to show you exactly how to make a website – step-by-step.
Create a Website using WordPress
Here are the basic steps you’ll need to complete to build your website:
- Choose a content management system to act as the foundation of your site
- Get a domain and hosting to make your site available on the Internet
- Install and customize WordPress (that’s the content management system we recommend)
- Publish content and share your site with the world
That’s all there is to it! 🙂
Step 1: Choose Your Content Management System
A content management system is basically a piece of software that makes it easy for you to manage aspects of your website without needing to resort to custom coding everything.
Having a content management system ensures that:
- You don’t need to know how to write complicated computer code
- You can add content to your site just as easily as you can use Microsoft Office or Paint.
- It’s easy to extend your website with “plugins” or “modules” that connect to your content management system
Common Content Manage Systems Compared
There are a huge number of CMS out there. But the most popular are:
- WordPress – 59.4% market share
- Joomla – 6.8% market share
- Drupal – 4.7% market share
While there are plenty of small differences, the core differences between the three come down to a balance between ease of use and flexibility.
| WordPress | Joomla | Drupal | |
| Ease of Use | Easy for beginners and advanced users alike | Not too complicated but beginners might be a little confused | You really need to be a developer to get the most from this system |
| Flexibility | Fairly flexible, but not quite as good at handling huge amounts of data | A good middle ground commonly used for eCommerce or social networks | Flexible and great for managing huge amounts of information |
We Recommend WordPress
The numbers speak for themselves. That is, WordPress controls 59.4% of the CMS market for a reason.
- It’s easy to create content – if you can use Microsoft Word, you can create new content with WordPress.
- There’s tons of help material – because WordPress is so popular, you can find beginner-friendly help for pretty much anything about the content management system.
- It’s easy to add functionality – a huge ecosystem of plugins and themes (more on these later) make it simple to add functionality to your site, even if you don’t know how to code.
- WordPress is free – oh yeah, did we forget to mention that WordPress is 100% free? You may opt to pay for some extensions, but the content management system itself is always free.
Step 2: Pick a Domain Name and Purchase It
In order to create a self-hosted WordPress site, you’ll need two basic building blocks:
- A domain name – this is your website’s permanent address on the Internet. For example, our domain is “wpkube.com”
- Web hosting – this is the engine that powers your site. It’s essential if you want other people to be able to access your site.
We’ll cover your domain name below and then knock out web hosting in the next section!
What Makes a Good Domain Name
So what makes a good domain name?
Generally, you want something that’s:
- Memorable – you want your visitors to be able to easily remember your domain name so they can come back and visit again.
- Brandable – you want something that lets you create a brand, rather than just a generic name.
- Easy to pronounce out loud – if you choose a domain name like “go4ward.com”, it’s going to be a massive pain to tell people to use the number every time you have a conversation in real life. Trust us!
- A .com (if possible) – while it’s not as important to choose a domain that ends in .com as it once was, it’s still the most recognizable domain ending.
Step 3: Choose and Sign Up For Hosting?
Web hosting is what stores all the information about your site. Then, whenever someone from around the world wants to visit your site, your host serves up your site so that person can access it.
There are a ton of hosting options out there, ranging in price from a couple dollars per month to thousands of dollars per month.
Step 4: Install WordPress Via Your Host
Most hosts have an automatic WordPress installation, you do not need to download WP separately, just press a few buttons and your website is ready!
Step 5: Install and Configure a WordPress Theme?
WordPress themes are what allow you to change your site’s style. Think of them sort of like your website’s “clothing”. That is, themes change how your site looks on the outside, but don’t change the core content or functionality underneath the theme.
Adding your own WordPress theme is easy. All you need to do is:
- Choose a WordPress theme
- Install that WordPress theme
- Configure the WordPress theme to make it your own
How to Install WordPress Themes
There are two ways to install WordPress themes. The method that you use depends on where you found your theme.
- If you found your WordPress theme at the official WordPress.org theme directory, you can install it right from your WordPress dashboard.
- If you purchased a premium theme or found a free theme somewhere else, you’ll need to install your WordPress theme by uploading a ZIP file of your theme to WordPress.
Step 6: Start Adding Content To Your Site
At this point, you’ve got a functioning WordPress site with your very own theme.
Now, you’re ready for the fun part: Adding content to your WordPress site.
After all, your site isn’t very helpful to visitors if there’s no content!
By default, WordPress gives you two ways to add content:
- Posts
- Pages
The Difference Between Posts and Pages
Posts and pages both offer the same basic options, but you should use them differently.
A post is basically like a blog post. That is, it will have a “Publish date” and show up in in a reverse-chronological list on your blog post.
A page, on the other hand, houses more permanent information like an About page or a Contact page.
Again, that’s:
- Post – use these when you when to create a time-stamped blog post
- Page – use these when you want to create a static page
Step 7: Explore The WordPress Settings Pages
Out of the box, WordPress is pretty much set up and ready to go. But that doesn’t mean there aren’t some small things that you might want to change. For many of those changes, you can use the Settings tab in your WordPress dashboard.
Step 8: Add Plugins to Extend Functionality
Plugins are another type of tool that help you extend WordPress. Unlike themes, which primarily make style changes, plugins are all about adding new functionality to your WordPress site.
That functionality might be something small, like a contact form or a new button, or it might be something massive, like turning your site into an eCommerce store or a social network.
Basically, plugins unlock new features without requiring you to know anything about code. They’re pretty awesome!
We hope you enjoyed this guide. And we just want to congratulate you one more time on learning how to make a website with WordPress!


