We have made a long way to improve our online stores. We learned more about product compares, products preview, brands etc. We made our stores more convenient for customers. Ok, your site has completed and ready for use but how many visitors will be on your site and how many will buy something in your shop?
So, what about currencies? How many currencies does your site to support? Is your store a convenient for foreign customers? They can see the price only in your currency or they can choose the currency that they want? Agree if your site will have several currencies, then it will be more popular and convenient.
In this tutorial we are show to you how to include ability to support multiple currencies in your site. How to do it for a few minutes and without any line of code. Let’s go!
WOOCOMMERCE CURRENCY EXCHANGE
WooCommerce Currency Exchange for your shop. You can easily setup exchange to any currencies in WooCommerce. Visual only exchange replaces price in shop, product page, but still uses WooCommerce default currency for order page and checkout page. Full currency exchange replaces price at all, also orders will be saved with selected currency. You can setup widget or shortcode with images for each currency. Currency exchange rates can be downloaded from Open Exchange Rates and automatically updated every 24 hours.
The plugin features:
- Widget and shortcode to change currency in any places
- You can use any currency, that WooCommerce support
- Visual only exchange or fully exchange
- Custom text and image for each currency
The plugin menu:
The plugin menu is located Woocommerce -> Currency Exchange
The plugin has a 4 tabs:
- Currencies
- CSS
- JavaScript
- License
Currencies
The “Currencies” tab contains:
- Visual Only – Checkbox to convert the currency on shop and product pages (only visual). On the checkout main currency will be used.
- Use IP to detect currency – Checkbox to set currency from the user’s IP on first load.
- Currency in profile – Checkbox which adding a dropdown with all currencies to user profile.
- Exchange Rates
- Multiplier – field for input a number to multiply currency when exchanging by this value
- Additional currencies – list with all currencies. When you turn on the currency, you can see the following fields:
- Currency exchange rate – place currency exchange rate from your WooCommerce currency or click “Update rates” button to use rates from site, which you selected.
- Currency custom text – field for input a custom text to each currency
- Currency image – Also you can select or add image for every currency and use it in widgets to select currency
Exchange Rates on “Currencies” tab
- Checkbox for auto update of exchange rates each 24 hours and after WooCommerce currency changes
- Site for currency load – dropdown select with exchange rates sites
- App ID – field for input App ID from exchange rates site
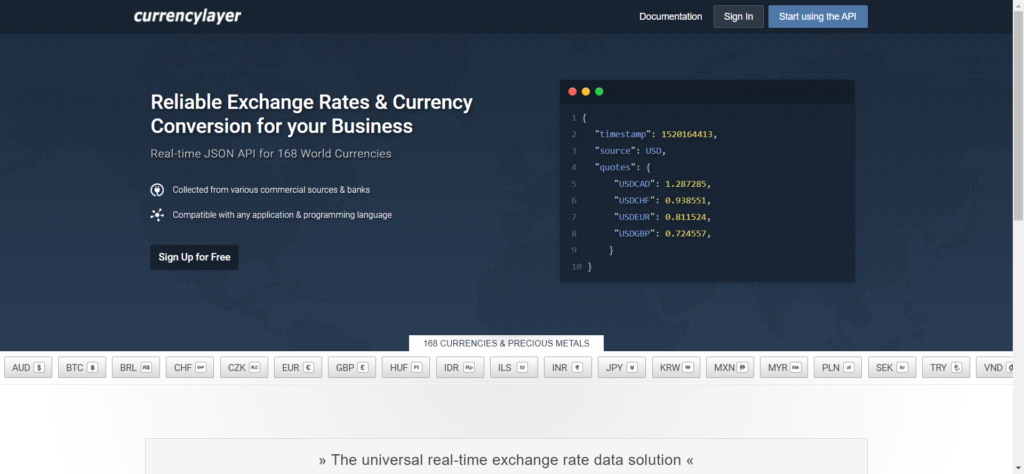
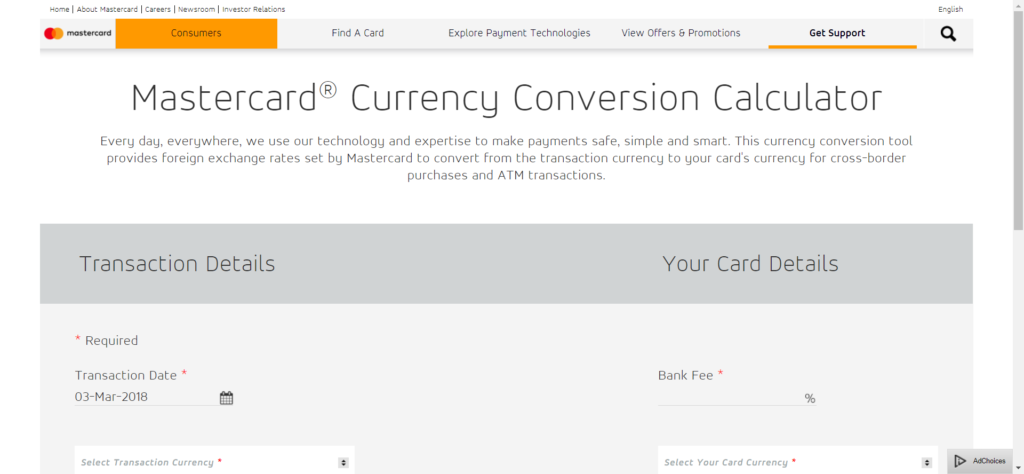
You can choose one of the three suggested exchange rates:
Open Exchange Rates

Currency Layer
Master Card
The settings for each currency looks like that:

On the next picture, you can see how we configured “Currencies” tab on our site.
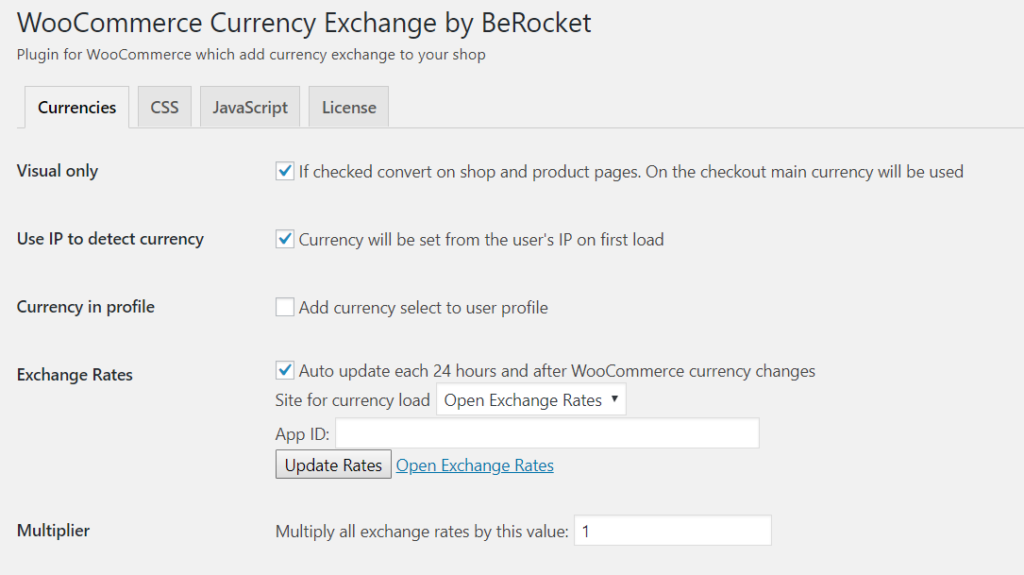
This is our settings. We selected all currencies for our store.
Widget
The widget from plugin called WooCommerce Currency Exchange. It is provides a choice of currency for users. You can place this widget to any widget area like other widgets.
We created our widget on sidebar and set the following settings:
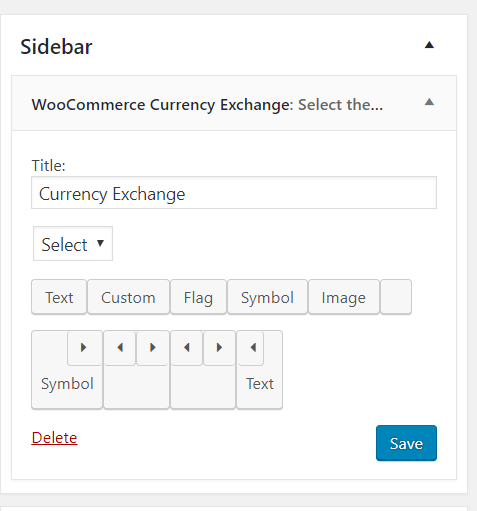
That’s all. We are finished with the plugin settings. Now we can use our shop with any currencies.


In Conclusion
We hope that this article will be useful for you and your site. Just try this plugin and we are sure that you will like it. You can configure it without a single line of code. We are sure that this plugin can help to you to increase you sales on your site. More information about plugin work you can read on the plugin page or his documentation.


