Have you ever heard of the Wish / Wait list? What does it do? Why every store should be have this list? In this article, we will tell you more about Wish/Wait Lists and show you how to make these lists on your WP Store.
Try to imagine herself in a user role. You’ll open an online store and find product which you will like. But you’ll can’t buy this product because it out of stock. It sounds terrible, really, but if you’ll can add this product to wait list, you’ll bevsaa calm for it. When your products appear in the store, you will receive a message that your products are in stock.
Another situation.
You’ll see product which you are like but his price is expensive for you at the moment. You’ll can add this product to wish list and you’ll can check this product whenever you want.
So, how to resolve all this issues if you are not a programmer?
WOOCOMMERCE WISH/WAIT LIST
Allows customers to add products to Wishlist and Waitlist. From birthdays to weddings and everything in between. Using a simple plugin, you can build up a waiting list of people wanting the unavailable item, then notify these customers automatically when products come back in.
The plugin features:
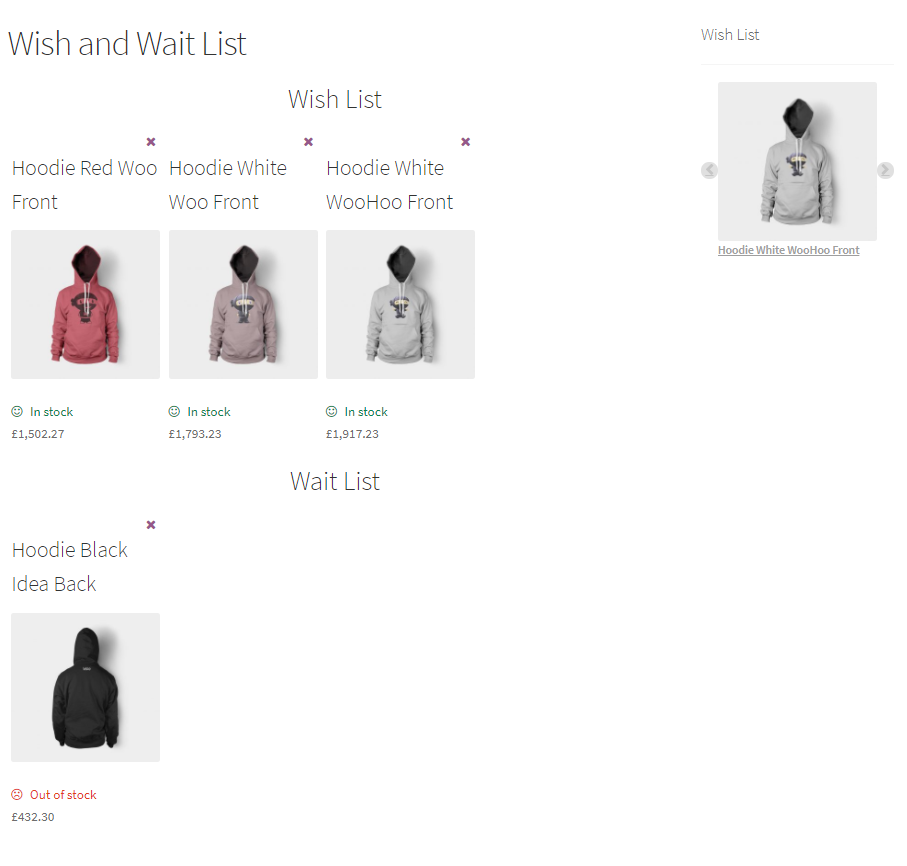
- Wishlist and Waitlist page for customers in one plugin.
- You can disable Wishlist and Waitlist separately.
- Statistic for each product on products page.
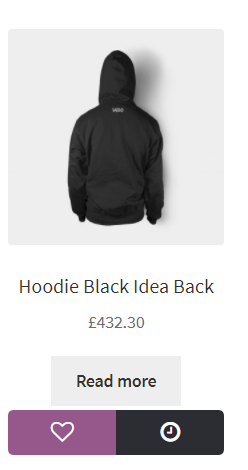
- Different position for wish and wait buttons.
- Stylization for wish and wait buttons.
- Stylization for wishlist and waitlist.
The plugin menu
The plugin menu is located Woocommerce -> Wish/Wait List
The plugin has a 5 tabs:
- General
- Style
- Text
- JavaScript
- License
General
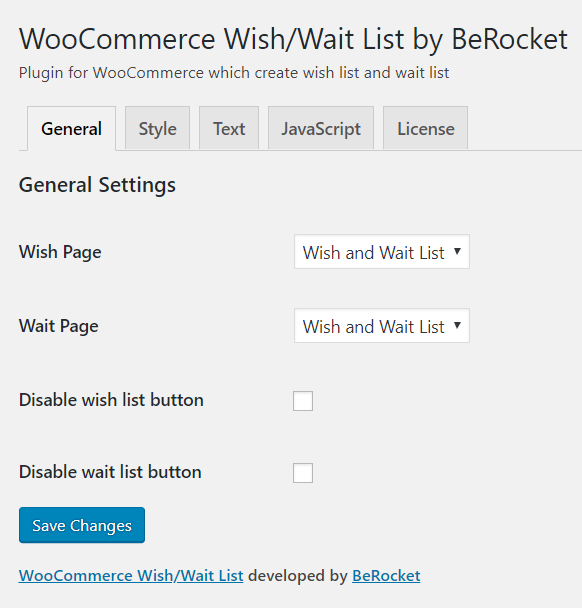
On the “General” tab, we can see:
- Wish Page – dropdown select with site pages
- Wait Page – dropdown select with site pages
- Checkbox to disable wish list button
- Checkbox to disable wait list button
For every list you should to create page on your site or you can create one page for all lists. In our example, you can see that we have selected one page for each list.
Style
On the “Style” tab you can choose position for wish/wait buttons and set style for them. Also on this tab you can change style for “wish/wait” pages. You can add icons for buttons or upload own images. The plugin gives ability for you set the button border, colors, paddings and other styles.
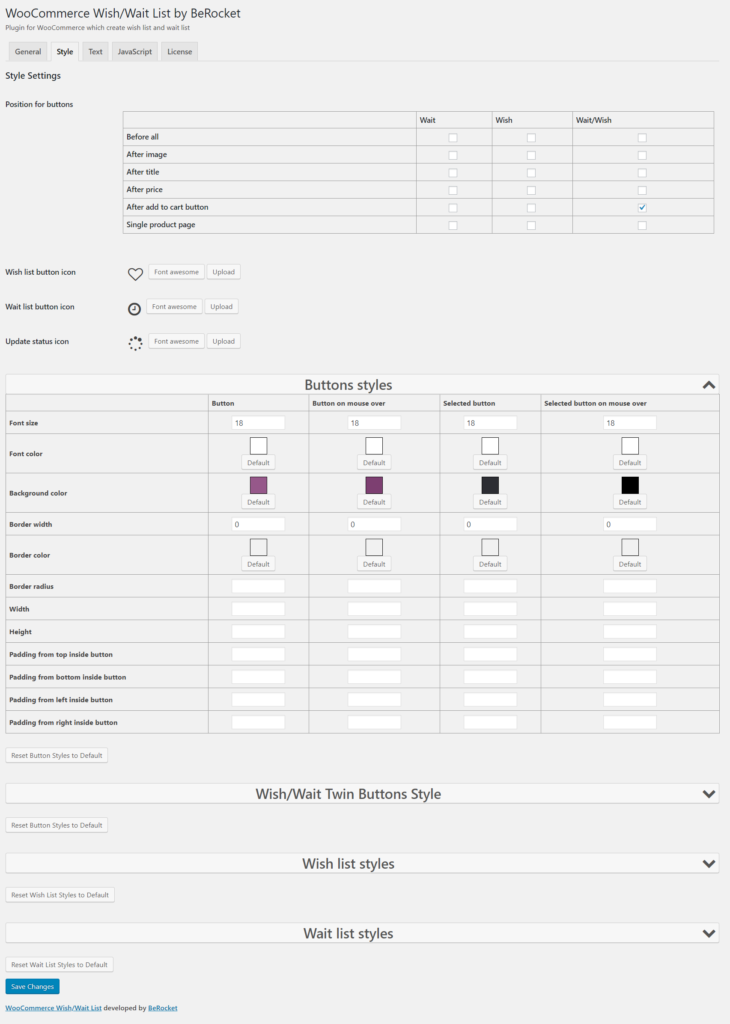
You can see and do as in our example or customize your own style for each element.
Text
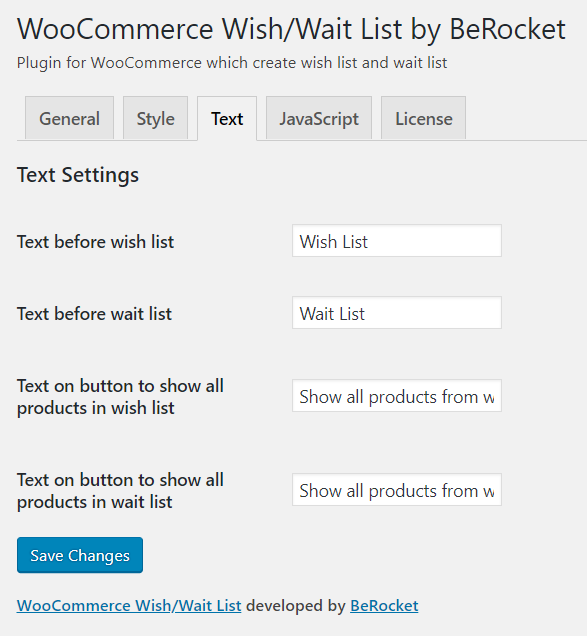
On this tab you can change:
- Text before wish list
- Text before wait list
- Text on button to show all products in wish list
- Text on button to show all products in wait list
We left the default settings on this tab.
On this step, we finished with main settings and now we can create our Wish/Wait widget.
Widget
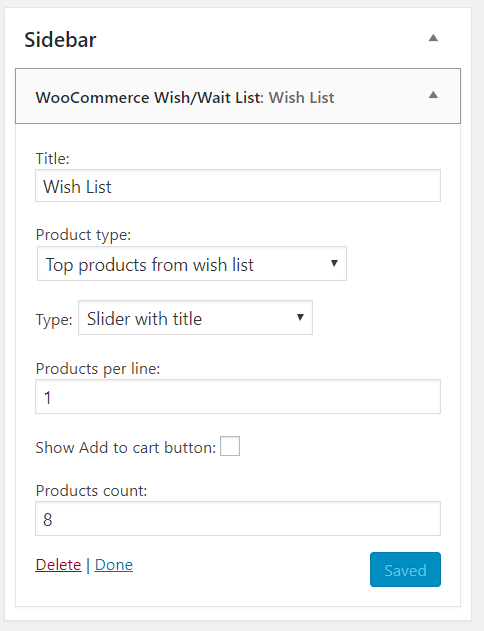
The widget has a many different options:
- Title
- Product type – choose type of products which you are want to show in widget
- Type – type of widget
- Field for input count of products per line
- Checkbox for showing “Add to cart” button
- Field for input count of products
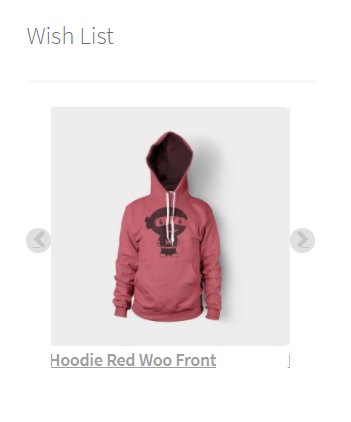
On the next images, you can see our widget settings and result of these settings.
Results
So, now we can see results of our work
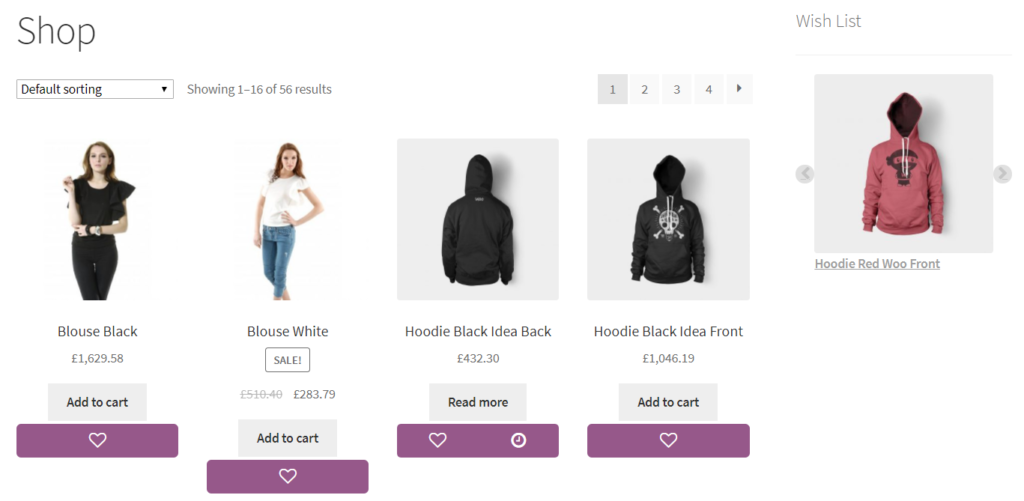
In conclusion
We hope that this article will be useful to you. Just read and try on your site. We think that every site should have Wish/Wait List, because this function is very useful and convenient for you and your customers. More information about plugin work you can read on the plugin page or his documentation.


